Here we go 
About as close as I can get it.

About as close as I can get it.


 . Thanks, MR! Mental green to you


 Hence why I'm not sure if it could even count for tut week.

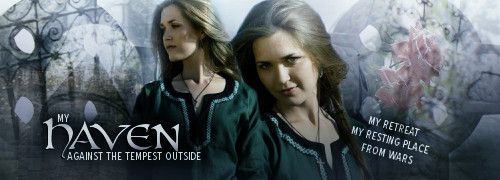
 It's pretty basic. How to blend and balance a banner.
 Already done because I needed to step away from the computer to cook dinner and hadn't finished the entire set yet!
  The map was made using this brush set.


 I used a movie camera but couldn't get the edge as smooth as I'd have liked..........
Comment