
Sorry I've been busy otherwise I would've done this earlier. 
Summer Glau banner tut:

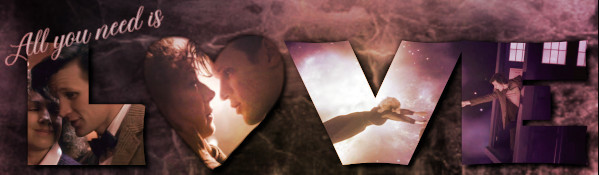
Banner size is 800x300
Base background is black.
First layer is Summer Glau pic. If you can find one with a colored background it may make your art easier... didnt't have to edit around her. I scaled the height of cap to 300 and then used a smudge tool to feather out the coloring. (If you have to edit your subject I would suggest to add another layer underneath and use Blend Tool with 2 different colors to get a similar look.

Next layer I used this cap. Place in your desire postion. Duplicate a second layer and Flip that one. So both covers the whole banner. 1st of 2 I set to Layer Mode to Multiply and reduced opacity to 96% and the second is also in Multiply and opacity set at 28-29%. Use Layer Mask on both and your blending tool to blend out edges.

Next layer are the arches. I just used the top of the cap. I didn't adjust size of cap. If you choose to that is up to you. Layer Mode is set at Dodge 100% opacity. I used Layer Masking around the edges to soften the hard lines a bit.

This layer is also set at Dodge 100%. I placed it so it had the little strip at the bottom.

Finally cap is again set at Dodge 100% and once more I use Layer Masking around the edges.

I used the smudge tool to eliminate any lines from the various textures. You can adjust your coloring to your desire.
For text I used Scriptina Bottom layer black and top white.
I hope I got it all. Give me a shout if you have question.
Planet: I will try to answer you question later this afternoon.
Summer Glau banner tut:

Spoiler:
Banner size is 800x300
Base background is black.
First layer is Summer Glau pic. If you can find one with a colored background it may make your art easier... didnt't have to edit around her. I scaled the height of cap to 300 and then used a smudge tool to feather out the coloring. (If you have to edit your subject I would suggest to add another layer underneath and use Blend Tool with 2 different colors to get a similar look.

Next layer I used this cap. Place in your desire postion. Duplicate a second layer and Flip that one. So both covers the whole banner. 1st of 2 I set to Layer Mode to Multiply and reduced opacity to 96% and the second is also in Multiply and opacity set at 28-29%. Use Layer Mask on both and your blending tool to blend out edges.

Next layer are the arches. I just used the top of the cap. I didn't adjust size of cap. If you choose to that is up to you. Layer Mode is set at Dodge 100% opacity. I used Layer Masking around the edges to soften the hard lines a bit.

This layer is also set at Dodge 100%. I placed it so it had the little strip at the bottom.

Finally cap is again set at Dodge 100% and once more I use Layer Masking around the edges.

I used the smudge tool to eliminate any lines from the various textures. You can adjust your coloring to your desire.
For text I used Scriptina Bottom layer black and top white.
I hope I got it all. Give me a shout if you have question.
Planet: I will try to answer you question later this afternoon.


 I have that problem a lot with hair. Usually, what I do is use a large round soft brush (with NO hardness whatsoever) and carefully blend it in. Otherwise, I give people haircuts a lot.


Comment