
thank you Jas for this great new tut!!!
-

-
Can't wait to try the new tut! Thanks, jasmina. sigpic
Sig made by me
Comment
-
I pray this makes sense to everyone. It's my very first tut.
How to make my Daniel/Vala Now and Forever Wallpaper. I use PS CS4 to make it.

Spoiler:Last edited by DJgirl; 25 January 2009, 07:31 AM.sigpic
Sig made by me
Comment
-
wow thank you for sharing I will have a closer look after the Handball- worldChampionship game which just started
Comment
-
Hi,
How to make this sig:

Tutorial:
Made in PS CS3, but it is translatable to Gimp and PSP. Brushes and Textures and Font included
Spoiler:Comment
-
DJgirl...I'm off to try that tut right now...EXCELLENT!
Replicarter....Love that sig!!! I'll give that one a try laterz....
Thanks everyone!!! WOHOOO!sigpicComment
-
Originally posted by RepliCartertje View Post
Awesome, thanks!
I am going to try this and the tut from Jasmina as soon as I done with my icons for the SGA challenge.
sigpic
Sig made by me
Comment
-
Makes perfect sense DJgirl. Thanks for that. And thanks for all those textures. I snagged all of them. 
Hi Eve Thanks for the tut.
sigpicComment
-
Excellent uses of the tuts Lili and DJgirl
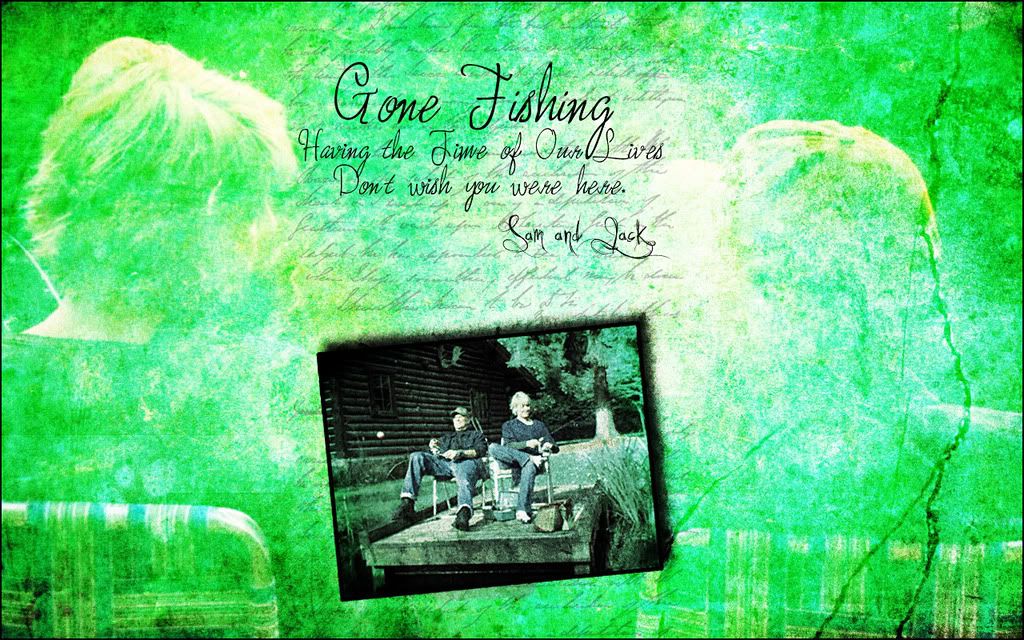
DJ what font did you use for "Gone fishing"?sigpicComment
-
AH, I tried and didn't like it...maybe it's because I haven't had breakfast...*wink*
I'll try it laterz....sigpicComment
-

 ) Erase any parts over their faces or any other parts of them you don’t like.


Comment