
Nice artwork everyone.  Greened whomever I could.
This is a tut that I promised for Jumble (and Kitty, I think) and it's a bit late.
My "secret to the stars" is that it's a texture that I found somewhere and I just futzed around with it in my sig.
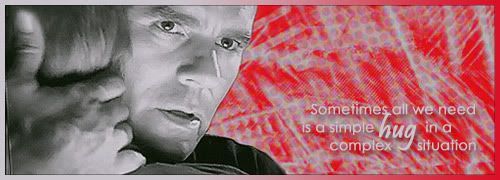
This is the sig:

This is the tut:
In Photoshop open this file. It will be your background.
Duplicate this layer and set it to "Screen" 100% opacity.
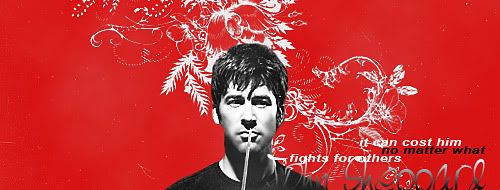
Open this image. Position it on the right side of your picture.
Set it to "Overlay", 100%
At this point, on the right side of the screen I added my text.
Create a new layer. Place an "Orange-Yellow-Orange" Linear gradient on this layer.
Set this layer to "Multiply 100%
Open a photo, select it and crop it to your liking. Obviously I used one of Amanda.
When you are satisfied copy the photo to your sig file. Make sure it is above the gradient layer.
Now duplicate this layer, set it to "Screen" 45%.
Create a new layer. Use the "Rectangular" selection tool to create a smaller rectangle withing the sig.
Go to "Select" to "Modify" to "Border" and set it to 3 or 4 pixels.Keep it selected.
Now get the gradient tool and use the same "Orange-Yellow-Orange" Linear gradient on this layer.It should only fill in the border you just created. Now you can save it as a jpeg or tweak it to your liking.
I can't remember everything I did but I do remember blurring the stars layer to soften it a bit. I also used used a "Color balance" adjustment layer on the picture of Amanda to make her eyes really stand out but I can't remember the settings I used.
I hope this tut makes sense. I did the tut under the influence of Nyquil.
Greened whomever I could. This is a tut that I promised for Jumble (and Kitty, I think) and it's a bit late.
My "secret to the stars" is that it's a texture that I found somewhere and I just futzed around with it in my sig.
This is the sig:
This is the tut:
In Photoshop open this file. It will be your background.
Duplicate this layer and set it to "Screen" 100% opacity.
Open this image. Position it on the right side of your picture.
Set it to "Overlay", 100%
At this point, on the right side of the screen I added my text.
Create a new layer. Place an "Orange-Yellow-Orange" Linear gradient on this layer.
Set this layer to "Multiply 100%
Open a photo, select it and crop it to your liking. Obviously I used one of Amanda.
When you are satisfied copy the photo to your sig file. Make sure it is above the gradient layer.
Now duplicate this layer, set it to "Screen" 45%.
Create a new layer. Use the "Rectangular" selection tool to create a smaller rectangle withing the sig.
Go to "Select" to "Modify" to "Border" and set it to 3 or 4 pixels.Keep it selected.
Now get the gradient tool and use the same "Orange-Yellow-Orange" Linear gradient on this layer.It should only fill in the border you just created. Now you can save it as a jpeg or tweak it to your liking.
I can't remember everything I did but I do remember blurring the stars layer to soften it a bit. I also used used a "Color balance" adjustment layer on the picture of Amanda to make her eyes really stand out but I can't remember the settings I used.
I hope this tut makes sense. I did the tut under the influence of Nyquil.

 and fantastic challenge entries everyone. Will try to have a go at this weeks
 ") - stupid RL!
- stupid RL!


 To much metal i've listened this week
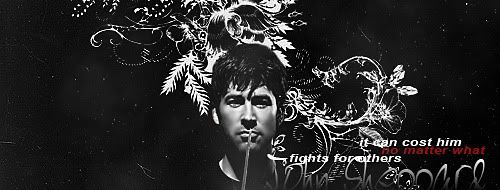


Comment