Originally posted by josiane
View Post

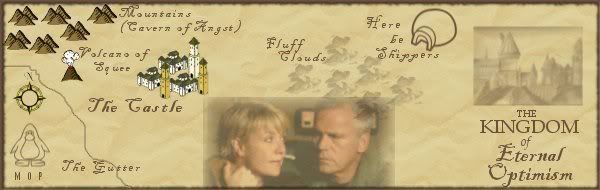
Ok, so how about a tut on how you did the map wp or sig?

 )
)

 That's so clearly explained Josiane, thanks! Yeah, I was really happy when I figured that out and now I adjust the transparency loads! It's really good to soften text layers for example - just make them slightly transparent and they stand out less.
 I do lots of stuff the hard way I use the curves, change it to alpha, use the graph slidy thing....your way is so much simpler
I thought that because each of us seems to have figured out different things, so it's a good way to share knowledge I think I will be using it partly(sometime soon) When I have time again to Photoshop
I do lots of stuff the hard way I use the curves, change it to alpha, use the graph slidy thing....your way is so much simpler
I thought that because each of us seems to have figured out different things, so it's a good way to share knowledge I think I will be using it partly(sometime soon) When I have time again to Photoshop But take your time(that's controversial...
") )
)
 There are a lot of different things in Gimp which is no in Photoshop (ignore my English) and it will take me months to explore it
but she got me doing things with it in a matter of days! Never be afraid to ask on here, there's always someone that will have the answer for you
There are a lot of different things in Gimp which is no in Photoshop (ignore my English) and it will take me months to explore it
but she got me doing things with it in a matter of days! Never be afraid to ask on here, there's always someone that will have the answer for you 

Comment