New Set. 


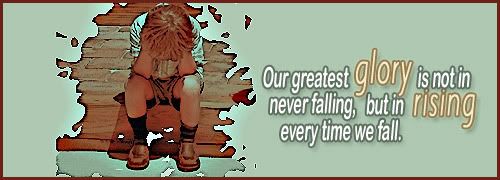
 That's a fab quote, Aveo
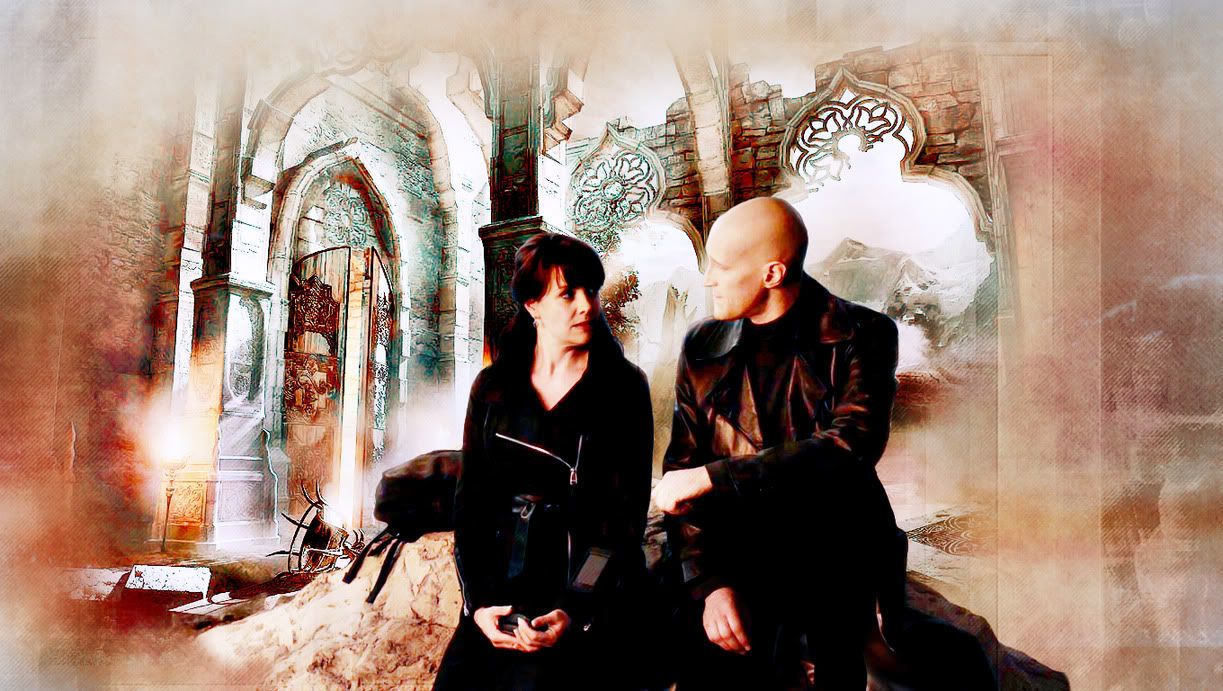


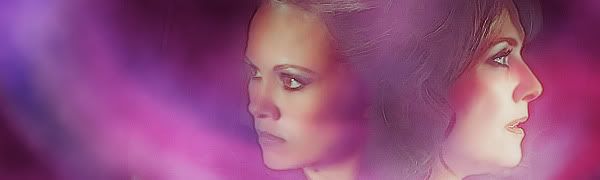


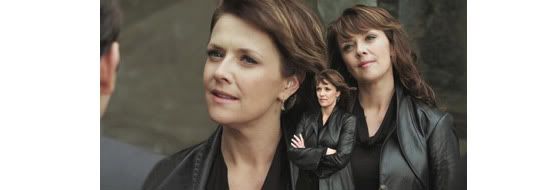
 And the mother/daughter sigs are gorgeous. The first one is Sanctuary... what's the second one? o.ô


 It's so not happy not to use it
  So I'm going to just jump in and suggest a challenge........


Comment