
-
sigpic
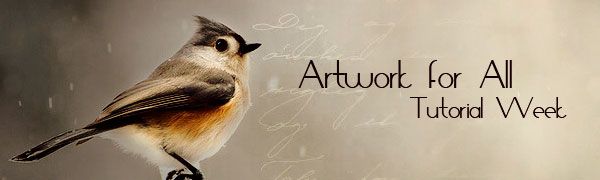
Artwork for All -
Originally posted by Sarai View Post yeah I've been taking my time. But omg so good and so shipping them!
And thanks JW
sigpic
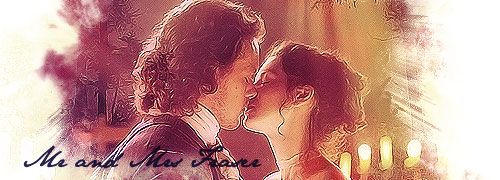
Artwork for All | Sig & avi by JadedWraithComment
-
What is screencapped?
Wonderful artwork, Josiane. Would you be offering a tutorial for that in tut week?Comment
-
Screencapped: Screencapped.net is a place that has screencaps, Episode Stills, Promotional Images, etc for various TV Shows and Movies. It is one of my go to places for those mentioned.Originally posted by Stargate78fan View Post
And Josi: I love that and I would also like to request a tutorial as well. sigpic
Icon and Sig by me.
Comment
-
Did this instead of my homework..
 sigpic
[call me loser.]Comment
-
That is awesome. Really love the colours and the textures. Now go and finish your homeworkOriginally posted by losernerdfriend View Post sigpic
Beautiful signature and avatar by Yamiinsane. You're a mind reader!
Aristides de Sousa MendesComment
-

Banner by Major Ryan
Challenge 128
Colours of Autumn
We're now into autumn (or fall, for you guys on the other side of the pond (or spring, for those of you in the southern hemisphere, but you'll have to be honourary northerners for this week!)) and the leaves outside my window are turning. So I thought a good challenge this week would be autumnal colours
Your art this week therefore must have autumnal colouring - reds, oranges, yellows, browns. You don't have to make art with an autumnal theme, but the colouring must be on that spectrum
Josiane

Jaded Wraith


Comment
-
(banner by Ladygris )
Tutorial Week 38
This week is a Tutorial Week. For the first week every month, we don’t issue a challenge, but instead want to encourage thread participants to share their expertise and try something new, using tutorials.
This is how it works:
1. Share a tutorial: Write a tutorial for a piece of art you have made recently, or post a piece of art you have made with the link to the tutorial you followed when you made it.
2. Follow a tutorial: Use one (or more) of the tutorials that other thread members have shared during the week to make a piece of art of your own.
The idea is that we should both teach something and learn something throughout the week
It’s not obligatory to do both, if you’re limited for time, but we’d like to encourage you to please both share and follow at least one tutorial if at all possible.
At the end of the week we will post all the tutorials along with any art made following each tutorial, so that we can see all the different interpretations all together.
Please PM your entries, including a link to the tut, to Sarai by 5pm (BST) on Friday.
Comment
-
Thanks Stargate78fan and yami - I'll write one up tomorrow
sigpic
Artwork for All | Sig & avi by JadedWraithComment
-
Tut for this wallpaper, as requested by Stargate78fan and yami:

Spoiler:sigpic
Artwork for All | Sig & avi by JadedWraithComment
-
Thank you Josi! That is lovely!sigpic
Beautiful signature and avatar by Yamiinsane. You're a mind reader!
Aristides de Sousa MendesComment
-
I may or may not post up a tut for others, though I use GIMP 2.8.14 myself, can't get PS due to computer limitations and also money limitations
This is the Assassin's Way part 17 complete
"Elegant beauty is Nature. but only for the gentle and soft Flower" ~Hu Ge
"The one thing every new hairstylist must learn is how to do hair in a combat zone!" Bob; owner of Bob & Weave's Combat Salon in Red Dust Club, an original story currently in progressComment
-
New sig.. but is there a better way to compress the image so that not as much quality is lost? I saved is as a .png from a .psd that was 300px resolution and it looks pretty bad now.. >.<sigpic
[call me loser.]Comment
-
There's nothing wrong with GIMPOriginally posted by Princess Awinita View Post It's what I use for making textures
Photoshop has too many features, too many options to make everything as easy as possible.. makes people lazy
*runs away*Comment
-
sigpic
Beautiful signature and avatar by Yamiinsane. You're a mind reader!
Aristides de Sousa MendesComment


Comment