Welcome to GateWorld Forum! If this is your first visit, we hope you'll sign up and join our Stargate community. If you have questions, start with the FAQ. We've been going strong since 2004, are we are glad you are here.
Great entries, everyone! Jumble, was my last PM too late? I miss the second "Screwed"-set
Tut-Week - my time off. See you next week maybe I can manage it now to finish that damned vid ...
Last edited by Hyndara71; 06 October 2012, 12:41 AM.
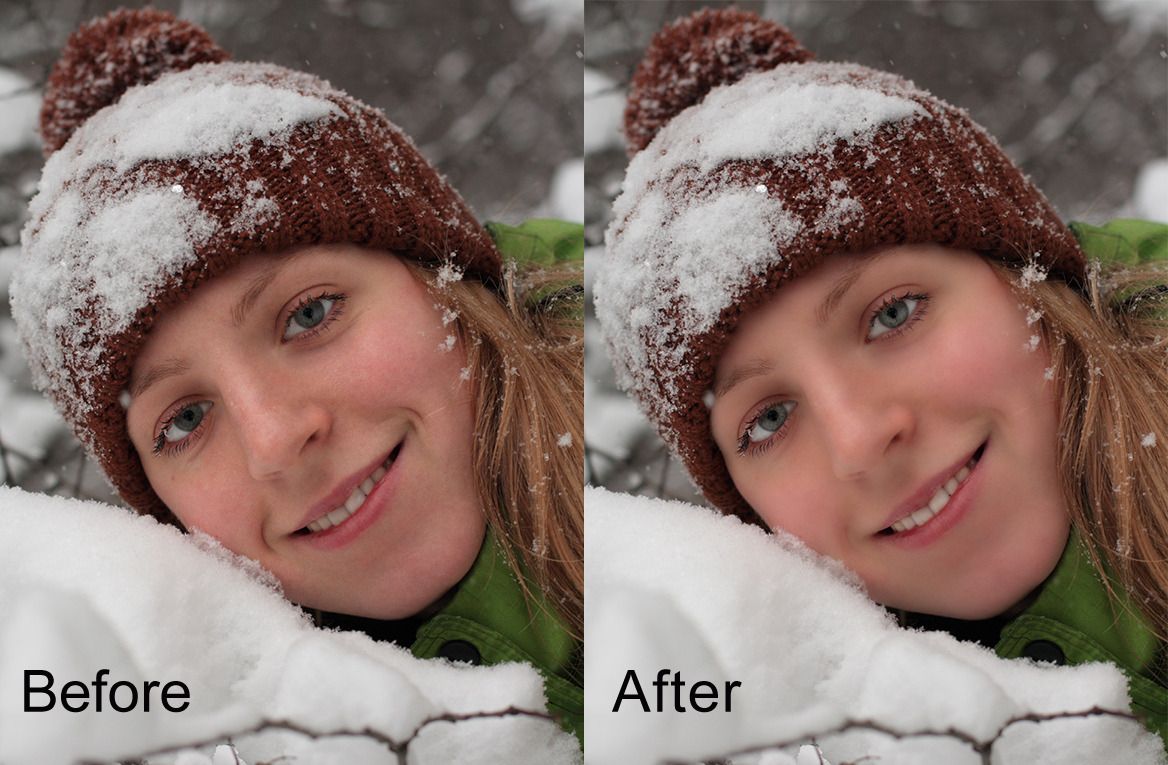
10 minute non-destructive photo retouching for Photoshop
Spoiler:
Start with your photo as the first layer of your document. Preferably yours has a large resolution. (The example used was found here and is 2592 x 3888 pixels.)
Duplicate your photo layer and apply a Gaussian blur. The amount depends on your photo. Base this amount on what looks good for your photo. You want to use an amount that blurs and blends the skin. Don’t worry about the rest of the photo for now.
Create a layer mask on the blurred layer. Fill this layer mask with black. You should now see your original photo without the blurring. Choose an appropriate sized brush and make sure your colors are set to foreground=white, background=black. Now paint with white on the layer mask to expose the skin areas of your photo. Vary your brush size according to the areas you need to expose. If you make a mistake and see areas you don’t want blurred, just change your color to black and paint over the area on that layer mask. In addition to softening the skin, this method will sometimes totally eliminate any blemishes, scars or wrinkles.
Create a new levels adjustment layer. Fill the layer mask of this adjustment layer with black. Set the layer's blend mode to screen. With a soft brush, paint with white on the layer mask to lighten any areas you’d like. In my example I used this method to lighten under eye circles, whiten the teeth, brighten eye color and the whites of the eyes. You can vary the strength of the lightening by reducing the opacity of your brush, reducing the opacity of the layer or both.
To remove wrinkles, scars, blemishes etc. that still exist, create a new layer above the rest. Choose the healing brush. Make sure your settings are set to mode=normal, source=sampled and sampled=all layers. (The healing brush works in two steps: first you chose an area with the texture you want to paint with and then you paint over the area you want to change.) Set your healing brush size to just larger than the area you want to correct. Pick your sample by choosing an area as close as you can to the area you want to correct and then paint over the area you want to correct to remove it. Continue using the spot healing brush to correct other areas remembering to change your brush size and sampling new source areas as appropriate. Reduce the opacity of this layer to make your corrections seem more natural. (Note: You could also use the clone tool but I prefer using the healing brush for these kinds of corrections.)
Your retouching is done. Now you can move on to working on coloring, sharpening or whatever you’d like.
ETA: I should probably note that I learned these tricks from tutorials posted here.
Last edited by Estrela; 05 October 2012, 07:46 PM.
Estrela - that one got copy/pasted immediately to a Word file to try tomorrow. I've got to go to sleep now - I'm administering the SATs tomorrow at the crack of dawn.
And, since it's tut week, I thought I'd write it up as a tut
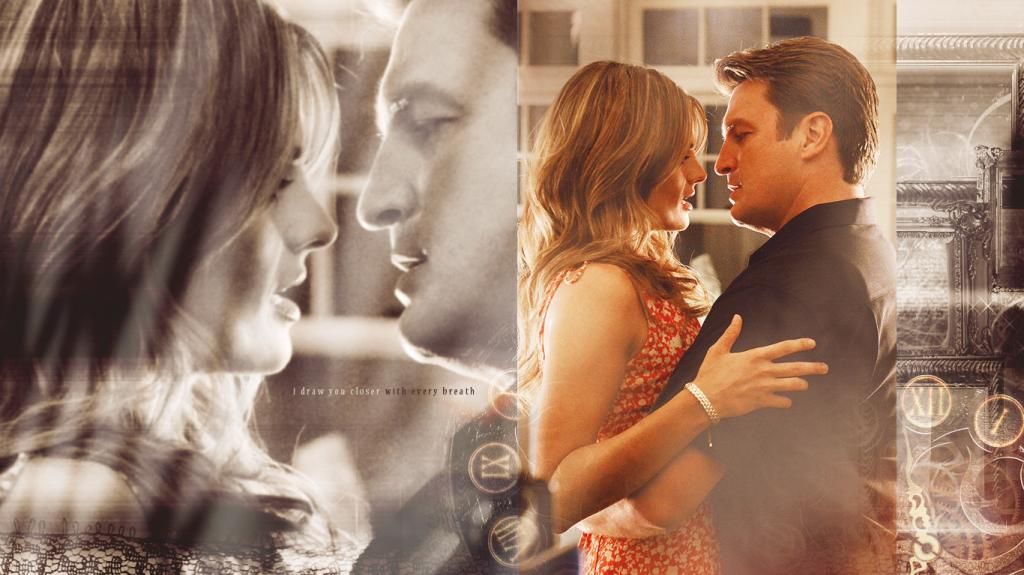
So, for that spoilery Castle wallpaper:
Spoiler:
Spoiler:
1. Open up the picture of Castle & Beckett and place on the canvas. It's a huge picture so I didn't resize it at all for the background one.
2. Open the picture up again, resize down and crop out the vertical section; place this on your canvas on top of the background picture. Sharpen this one.
3. Now, most steps of this tut either take place in between the two picture layers, or on top of the whole thing. To make this more logical to follow, I'm going to do all the in between stuff first, then the on top stuff. So put all the next few steps on layers above the background but below the smaller picture. I'll tell you when to start working right at the top
4. Duplicate the background and apply a small gaussian blur (2 px) to it.
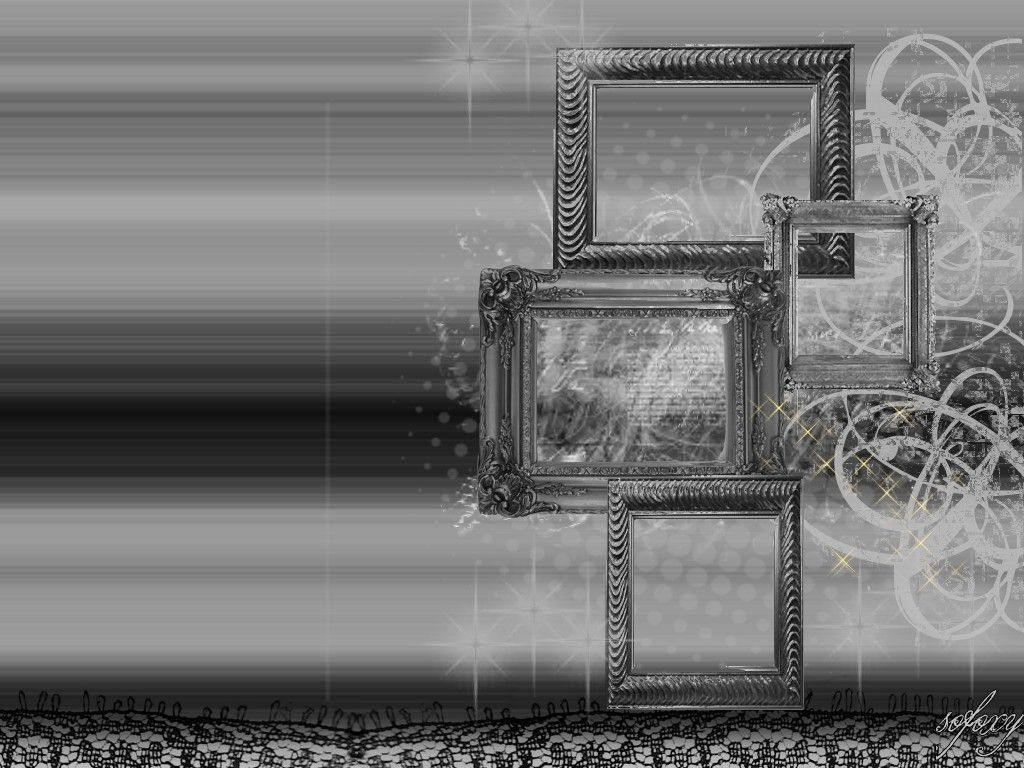
5. Add this texture, set to overlay. Position it so that the frames show at the right side of the canvas, between the smaller picture and the edge. Use a layer mask to get rid of everything that sticks out to the left of the smaller picture.
6. Duplicate that texture layer and move the duplicated one over to the left. Use a layer mask to erase the part over their faces, but leave the horizontal lines to the left side (over Kate's hair) and the lacy bit at the bottom.
7. Add a new layer, fill with #998675 and set to color. This will turn the whole background sepia. As a general tip, I quite often use colour layers to desaturate, as it's non-destructive
8. New adjustment layer > selective color:
- Blacks: C 0, M 0, Y -14, B +16
This deepens the shadows and increases contrast, and took some of the yellowy tones out of it.
9. Next add this texture (snurched from a tut by ladygris), position in the bottom right-hand corner and set to screen. It was a bit too yellow for my liking so I also adjusted it using image > adjustments > hue/saturation, reducing the saturation slightly and moving the hue slider just a touch to the left to make it a more reddish yellow.
10. Duplicate that layer and position the new one so it's just peeking out to the left of the smaller picture. Use a layer mask to blend the edges in.
11. OK. Now we have our background basically set. So next, add a layer mask to the smaller picture and very very subtly blend in the edges, particularly at the bottom. Basically, use a really huge soft brush and just dab at it a couple of times!
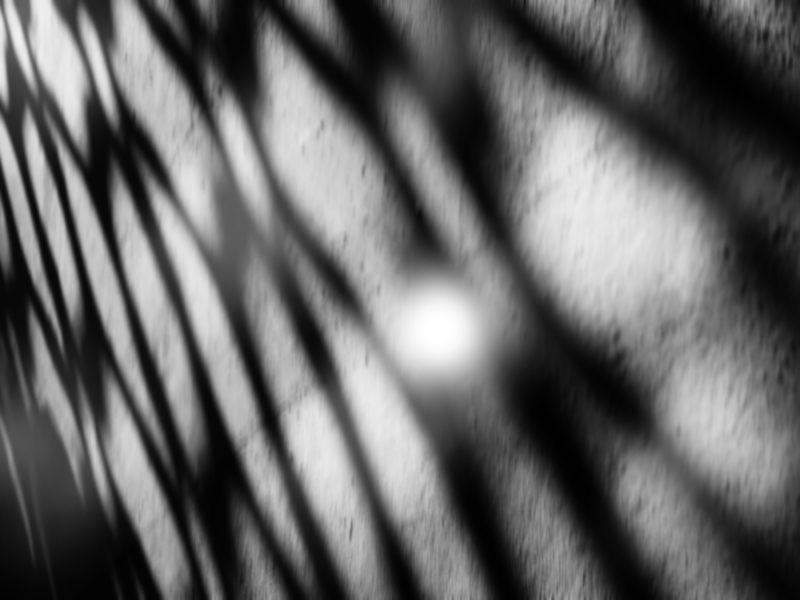
12. From here on, we're working on the whole thing, so all new layers from now on go above both the smaller pic and all the background stuff we've been doing. Add this texture (also snurched from that same ladygris tut) over the whole canvas and flip it vertically. Use the gaussian blur (at 5 px) and set to screen at 40% - I wanted the lighting but didn't want it to cover anything up.
13. Add a new layer, fill with #8c6239 and set to soft light. Use a layer mask and the rectangle select tool to get rid of everything over the background - this should just cover the smaller picture.
14. New adjustment layer > curves:
- Point 1: output 212, input 191
- Point 2: output 70, input 77
15. New adjustment layer > selective color:
- Reds: C 0, M +9, Y +12, B 0
- Yellows: C 0, M 0, Y -20, B 0
- Blacks: C 0, M 0, Y -6, B +5
17. Add this texture, set to screen at 50%, and position in the bottom right hand corner over the clock and the place where it blends into the smaller pic. Use a layer mask and erase all of the white part of the texture, just leaving the red bit.
18. New layer, fill with #362f2d, set to screen. This softens the whole thing.
19. New layer, fill with #ebebeb, set to color burn. Brings back some of the contrast/colours you just lost.
20. Add the text - font Nueva Std. Increase the tracking (spacing between the letters) to 200. The colours were selected from the background using the colour picker tool.
21. Finally, just to finish it off, add this icon texture, set to screen, and position underneath the text to the right, bridging the end of the text and the clock texture.


 maybe I can manage it now to finish that damned vid ...


Comment