Welcome to GateWorld Forum! If this is your first visit, we hope you'll sign up and join our Stargate community. If you have questions, start with the FAQ. We've been going strong since 2004, are we are glad you are here.
Announcement
Collapse
No announcement yet.
Graphic Arts Tutorials, Textures, Resources Thread
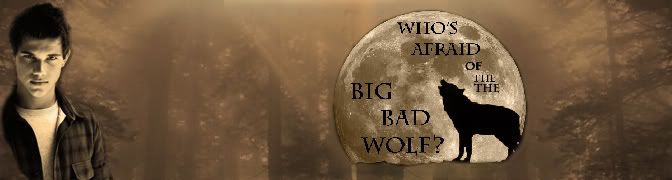
Ok, tut on how to make this sig using PSP and Gimp:
Spoiler:
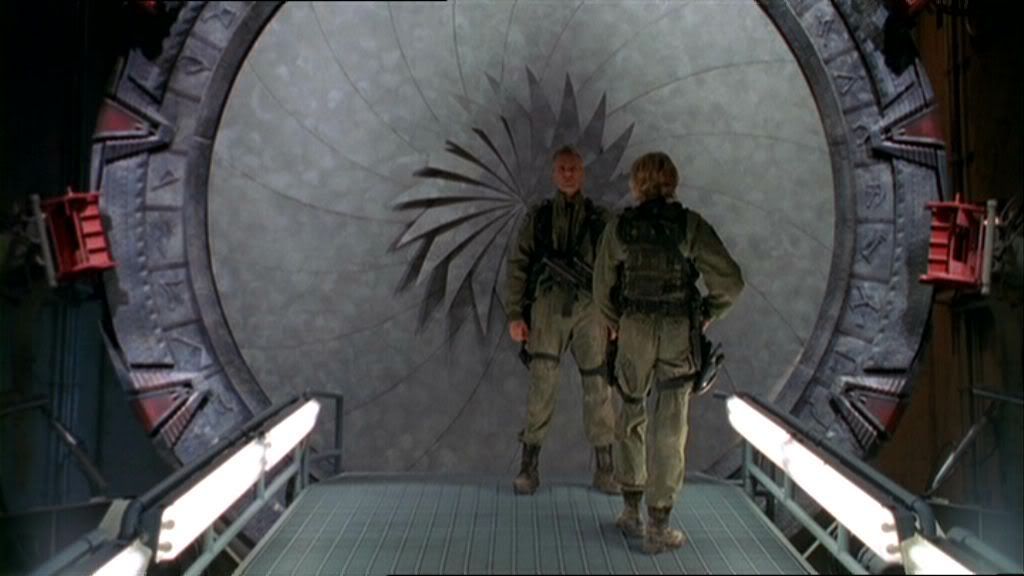
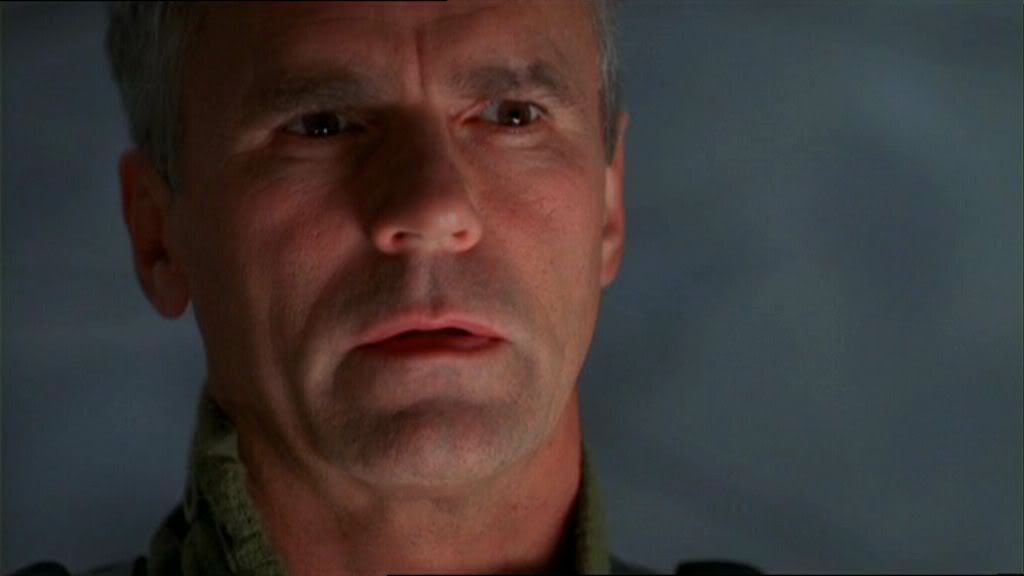
First open up a new file in whatever program you're using, size 600 by 200. Open this picture in Gimp:
Spoiler:
Duplicate it so you have two of them.
Go onto colours > threshold. Apply it to 63 (right) and 191 (left side of the box ). Scale it so that its width is 600. It should look like this:
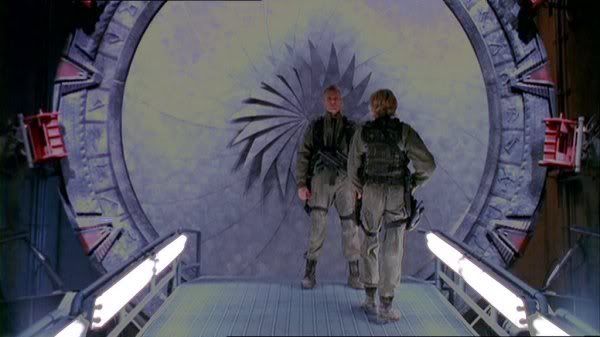
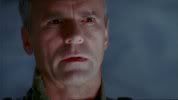
Go to the duplicate version of the original. Go onto colours > curves and arrange how you like. Colours > colour balance.
Red = -8
Green = -4
Blue = 23
Then scale to the same size as before. It should now look something like this:
Ok, now go to your preferred program (I use PSP, because I find it easy! ).
Paste the first version of the cap (I call it the cartoon version) onto the new image (600 by 200). Then paste the second version (the enhanced version, I call it) on top and merge how you want. I use the rubber tool, myself.
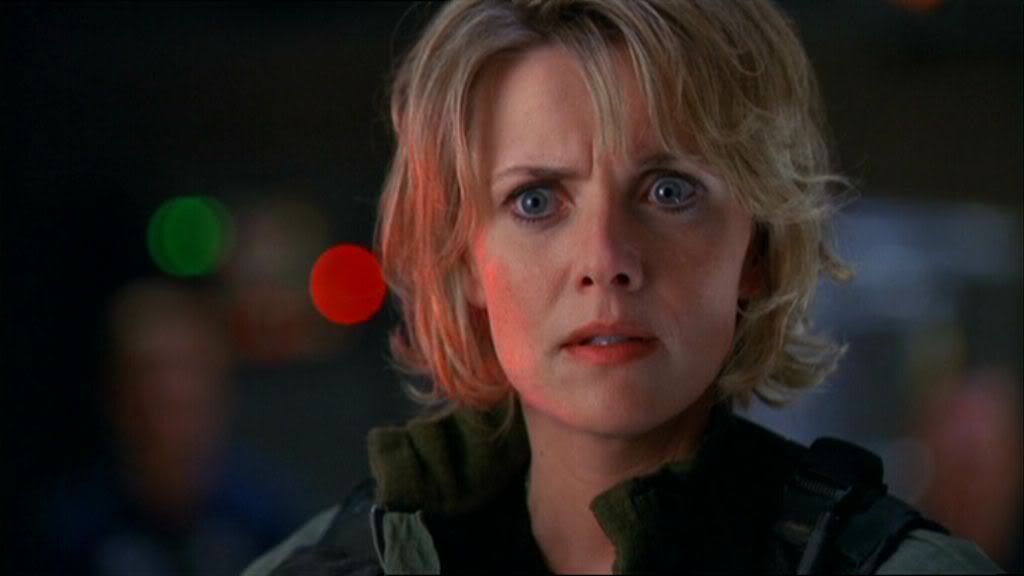
Open these two caps in Gimp:
Spoiler:
Colour balance them and adjust the curves to look something like this:
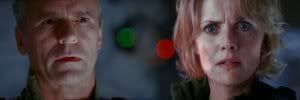
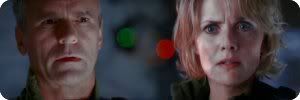
Open a new image in your other program (if you're using one) 300 by 100. And scale the pics down to fit into it. The Jack one has to go underneath so you can keep the red and green light spots on Sam's pic. Merge them together. It should look like this:
Open this in Gimp. Go to filters > decor > round corners.
Edge radius = 12
Shadow X and Y offset = 0
Blur radius = 0
It should look like this:
Copy this and paste as a new layer into your sig. Move it to the top left. Rub out the white corners. Add in the text, font = monotype. Add in some brushes. Merge all the layers. Go to effects > 3D effects > buttonise. Black colour.
Height = 5
Width = 5
Opacity = 45
Ok, tut on how to make this sig using PSP and Gimp:
<snip>
woah, thanks for sharing. could you please hide it behind spoiler tags next time? all the pics just took ages to load and i don't even have Dial Up I know, I'm a nitpicker.
woah, thanks for sharing. could you please hide it behind spoiler tags next time? all the pics just took ages to load and i don't even have Dial Up I know, I'm a nitpicker.
That actually doesn't make a difference, if it is behind spoilertags or not. It still have to load completly. It doesn't stop loading. the only thing spoilertags do is, hide them.
That actually doesn't make a difference, if it is behind spoilertags or not. It still have to load completly. It doesn't stop loading. the only thing spoilertags do is, hide them.
really? i heard it's even harder because of the dial up. sorry for that. but loading takes so long atm and it just drives me crazy *arrrgh*
Last edited by Fainne; 14 February 2009, 02:53 PM.
I'm looking to do something rather tricky... I have a pic of something silhouetted in a sunset.... the thing still comes out mostly brown and white, but there are a lot of oranges and yellows too... There is a black and (very) white object that I would like to put into the shot as well, and am wondering if any of you know off the top of your head of a tut that will help me make the B&W image more silhouetted... I can insert the correct colours myself but just don't know what tools to use!
I use PS7 and while the resources on LJ are vast and great, there are just SO many of them!!!


 Set on Lighten 40%
 Set to Screen 100%

 ). Scale it so that its width is 600. It should look like this:
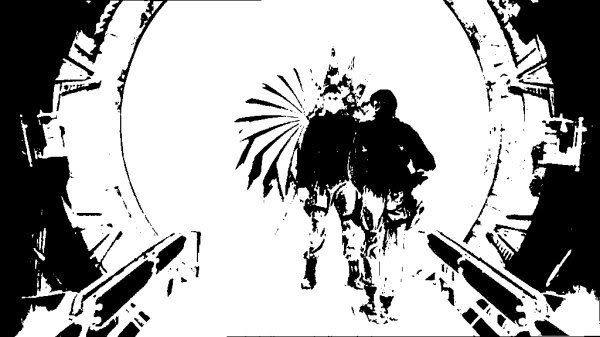


")

Comment