
Originally posted by m&mnm317
View Post
-
It's Honey Script. Believe it or not, that's the first time I've ever used it.sigpic
To Hope Again -
Really?? I think I've used it at least once but I'm not sure... I do know that I actually have itOriginally posted by ladygris View Post Fonts are about the only thing I tend to go crazy on
sigpic
Coming January 2017Comment
-
Yeah, I have several that are very similar to Honey Script. There are differences, like spacing between characters and such, though.Originally posted by m&mnm317 View Post sigpic
To Hope AgainComment
-
Beautiful entries And great textures! I love textures
Comment
-
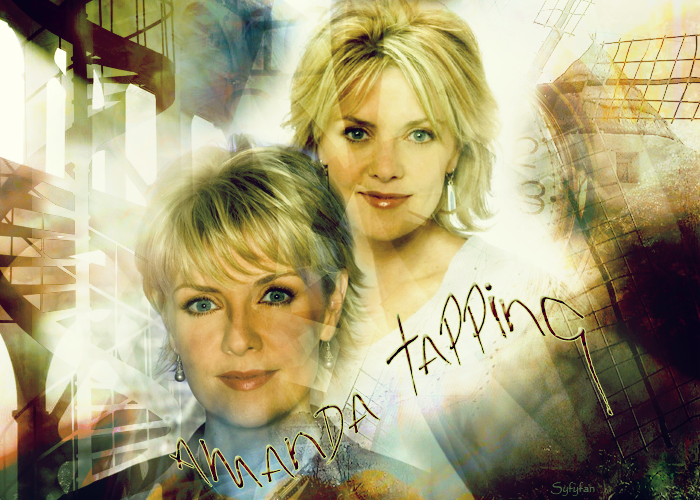
Challenge entry...I used 5 from challenge stocks image plus 3 more

click to enlargesigpicComment
-
Absolutely beautiful, Sy!
How did you get that effect on the spiral stairs to the left of Amanda's face?sigpic
To Hope AgainComment
-
Love it Sy!!!!! Could you make a tut for it?? If you'd rather not, that's fine too, just thought I'd ask 
sigpic
Coming January 2017Comment
-
Thank you!Originally posted by ladygris View Post
I used set the layer to difference 51% and add the others images....maybe combination
  sigpic
Comment
-
It worked perfectly, though. I knew the layer setting was different than what I usually use, and that's why. I rarely use Subtract or Difference. (I think those translate over into Exclusion in PS.)
sigpic
To Hope AgainComment
-
Thanks! Maybe later...I'm not good on writing thingOriginally posted by m&mnm317 View Post but I will try
sigpic
but I will try
sigpicComment
-
I hope you do. I could bookmark it for next tut week.Originally posted by syfyfan View Post
Btw, I have church camp this coming week and will have NO time to do artwork. I'll try to get something done tonight, but no guarantees.
sigpic
To Hope AgainComment
-
I use PS and use the Subtract or Difference to play with colorOriginally posted by ladygris View Post
sigpicComment
-
-
That's exactly what I was thinking of doing!Originally posted by ladygris View Post
sigpic
Coming January 2017Comment
-


")
Comment