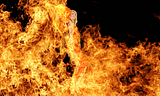
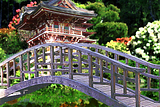
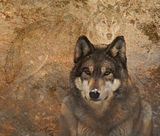
Some general art I've been working on


 I am in awe of both of your skillz.


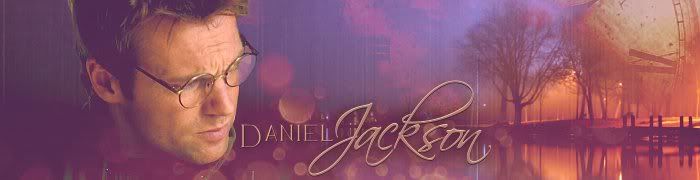
 I didn't like any of the other layer modes, but the erasure layer did what I wanted.
But that fill layer did make a difference I liked as well.
I didn't like any of the other layer modes, but the erasure layer did what I wanted.
But that fill layer did make a difference I liked as well.


")
Comment