
-
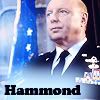
sigpic -
-
 love it jumble

Comment
-
*wipes tears of laughter* Thanks, jumble! Great way to start my morning!sigpicComment
-
Glad you like it Now I really must try to do something different
Comment
-
congrats Jumble on 8'888
Comment
-
-
Congrats on 8888 posts Jumble
I went with Oma's idea and made few challenge icons


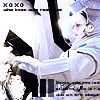
 sigpic
Comment
-
Thanks
Funny how Oma's ideas are keeping us busy")

Comment
-
Funny sigs Jumble!
Oma - this icon looks really good!!!
Jasmina - cool pics for the icons the 2nd one - Jack is a DJ haha! they're great!
sigpic
sig thanks to LuciComment
-
-
My too!!!!!Originally posted by Sarai View Post
Jumble, love your Martin sigs! They're awesome!
Oma, love Ba'al icon!!!
Jasmina, great icons! Can you make a tut for the first and the last one?
What brushed and textures did you use making yout "Sanctuary for all" sig? I so love the coloring Last edited by Blacky Kitten; 26 March 2009, 09:02 AM.
Comment
-
Sure. I'll make them later today.Originally posted by Blacky Kitten View Post
And which sig exactly? I have a few Sanctuary ones. sigpic
Comment
-
Ow, cool! That'll be great!Originally posted by jasminaGo View Post
The one which SJShipper93 uses, it's brown and orange and has a lit of stars on it. Sorry, i don't know the names of the characters, i've never seen Sanctuary
Comment


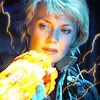
 Rotated it 90 CCW. Set the blending mode to Lighten 100%. And erased the parts covering Sam's face.
 Set to Screen 100%. Move it around and rotated it a bit till I liked the position (at the bottom left corner)
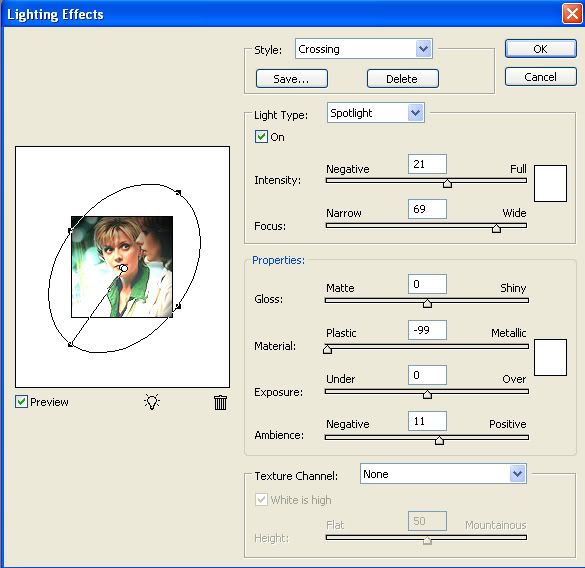
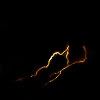 set to screen 70%. I duplicated it few times, and moved it around.
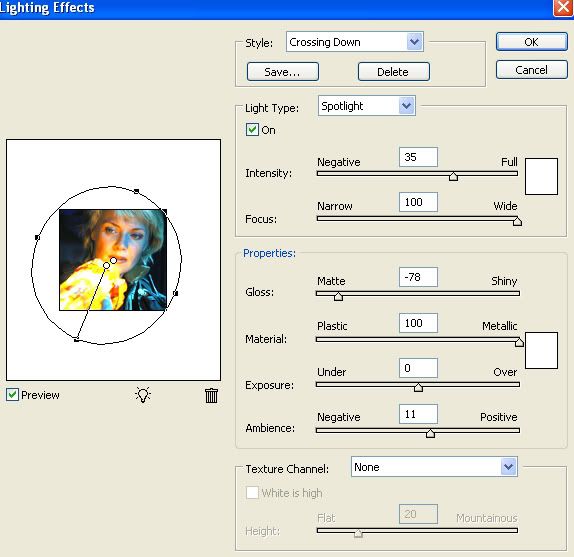
Comment